
Fast, free photo fixes for CU websites
The most common issues we see on credit union websites, especially home pages, are enormous, un-optimized, un-sized, and un-cropped images on the home page. These cause your site to load slowly, especially on mobile devices, they chew through bandwidth, and they can even make your site look wonky.
This is very common when folks use pictures straight out of their phone, or use stock or print images without sizing and optimizing them.
Here’s your quick, no-nonsense guide to how to fix those bloated pictures fast using free online tools. You’ll get your credit union’s website back up to speed in a jiffy!
Find out your target image sizes in pixels
Check with your website developers for a list of the image sizes in pixels needed for your website. For example, maybe that main promo image needs to be 1920×1080 (width is always given first, so it’s width x height), maybe featured images for blog articles need to be 1200×600, callouts are 600×400, etc. and so on. It’ll be different for every website, but make sure you have this info.
Fire up an online image editor
The one we use most often for quick image updates is Photopea.com. Drag the image file you want to work with into the window, or click “Open From Computer”. (It will be pretty familiar if you’re used to Photoshop.)
Crop and size
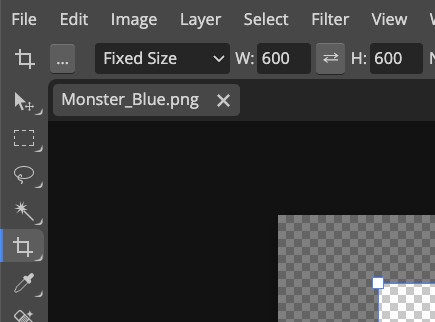
Choose the crop tool on the left, like so – it’s the fifth one down, below the magic wand. Choose “Fixed Size” at the top, then enter the final dimensions you want. That way, we can do two things (crop and resize) in one easy step.
You’ll see a crop area appear, showing what parts of the image will remain. Drag this area to show what you want to keep, and use the squares at the corners to shrink or expand the crop area.
Let’s say you want to end up with a 600×400 pixel pair of hairy eyeballs for some odd reason… it might look something like this:
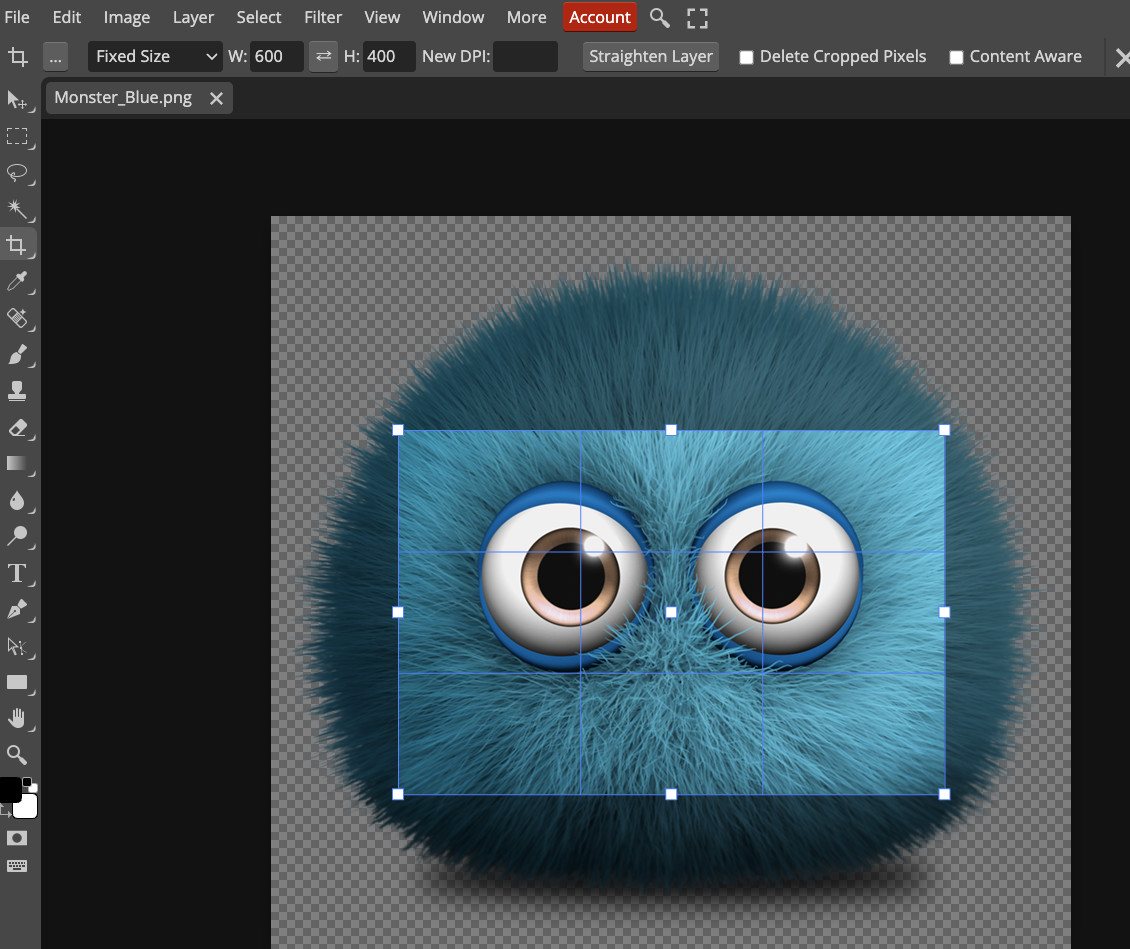
Click the check mark near the top right to Confirm. If you’re not quite happy, go back a step in History, or choose “Step Backward” under the “Edit” menu at top left and try again.
Export your creation
Once you’re happy with the properly sized and cropped results, it’s time to export. Click “File” at the top left, then choose “Export As…”
- For most photos, JPG is the best format. I like to choose 80% quality.
- For things with transparency, or things with areas of solid color like logos, PNG might be better.
Give your image a name, then click “Save”.

Optimize
For smaller images (under 100K or so), sometimes you don’t really need to go any further.
But for larger images, especially large photos on important, high-traffic pages, it’s worth taking one additional step: optimization. This means reducing the file size without affecting the perceptible image quality. Fortunately, there are some good free services for that as well. The two we use most are:
- TinyPNG: https://tinypng.com/
- Squoosh: https://squoosh.app/
Simply drag your image onto the page, wait for it to process, then choose your options and download the finished image. Even images that have already been optimized by a photo editor often come out significantly smaller.
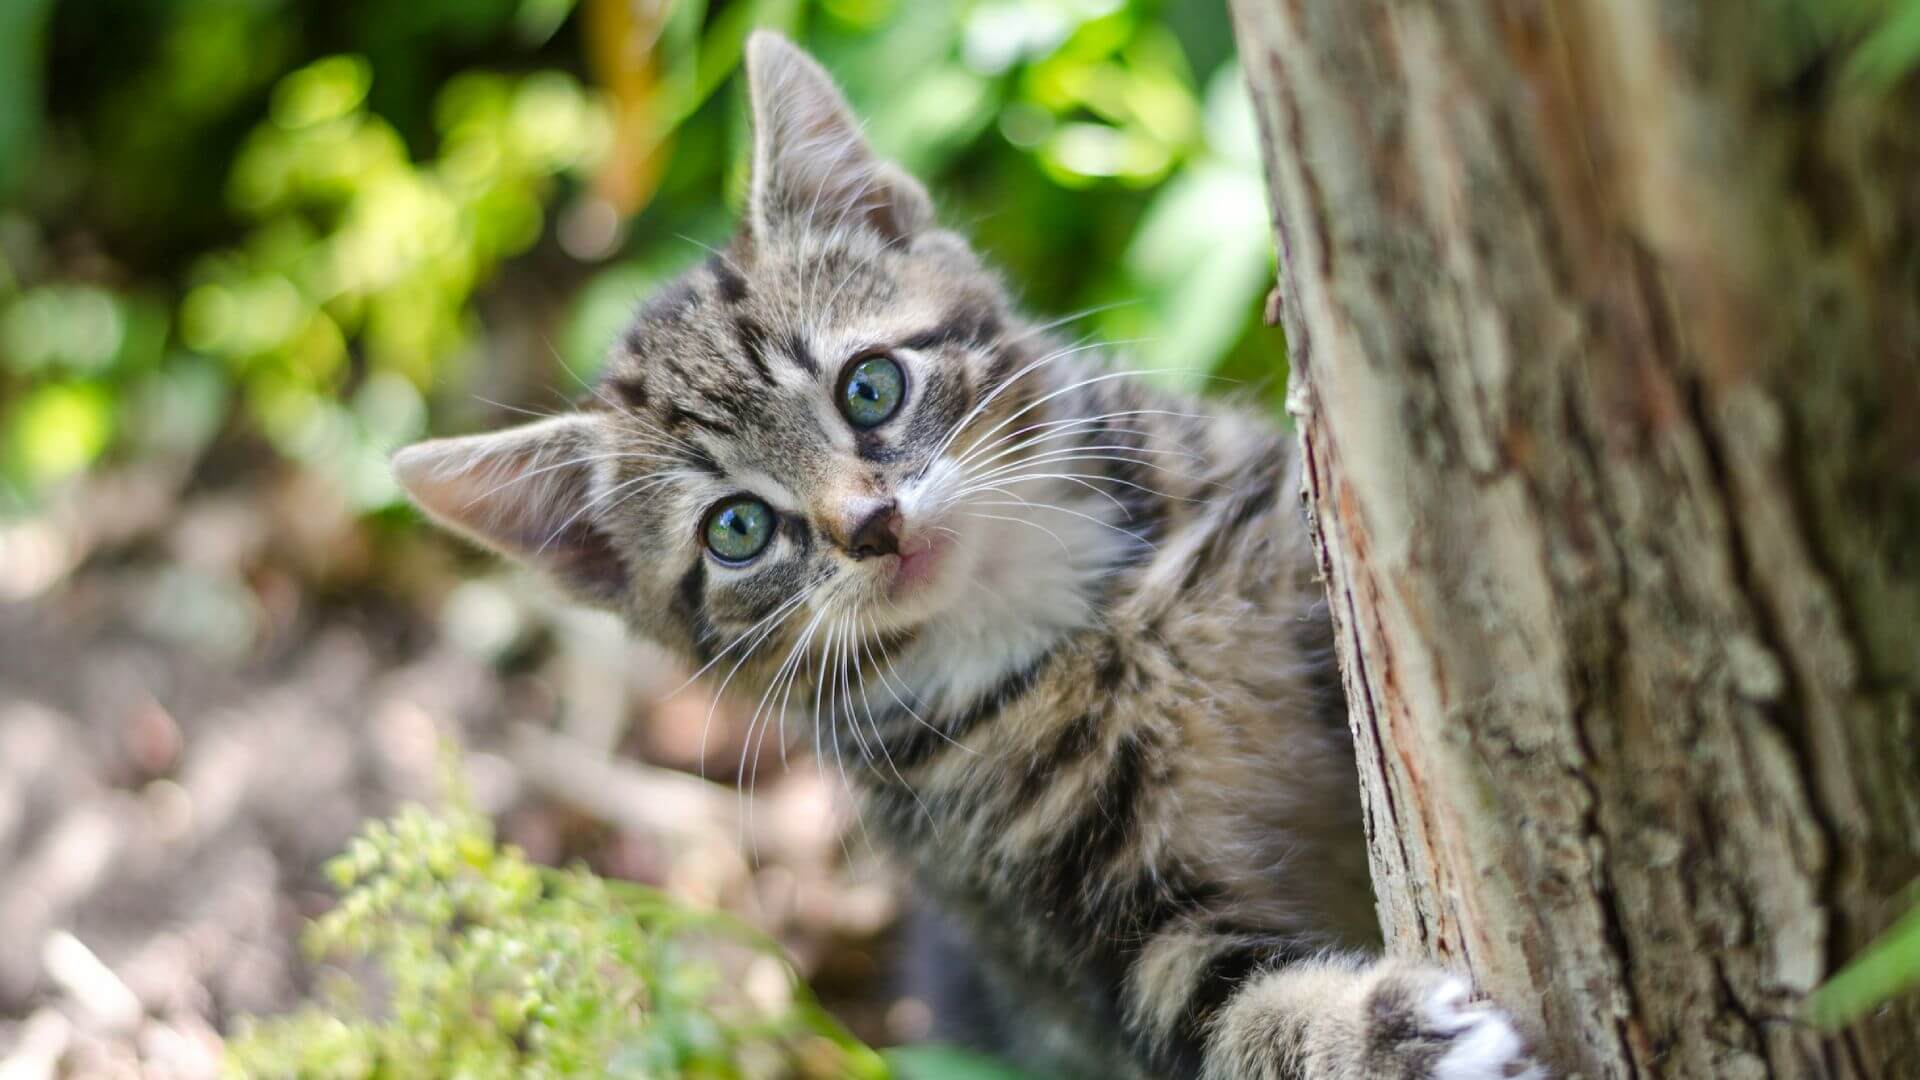
For example, this mighty hunter came out with a 38% smaller file size, with no visible loss of quality!
Bonus: where to get free stock images
Need to spruce up your website or blog post with a cat photo, fast? It’s always best to use custom photography if you can, or paid stock images if you need something specific.
We sometimes use Unsplash or Pexels to find free photos. These sites offer lots of completely free images, completely royalty-free, and they support themselves by also showing you “sponsored” stock images you can purchase. You can’t find everything, but it can be handy when you need a quick kitty, a fast pooch, or a nice landscape shot.
- Fast, free photo fixes for CU websites - March 17, 2026
- Five messages that matter more than rate - March 11, 2026
- In Case You Missed It – 2.25.2026 - February 24, 2026